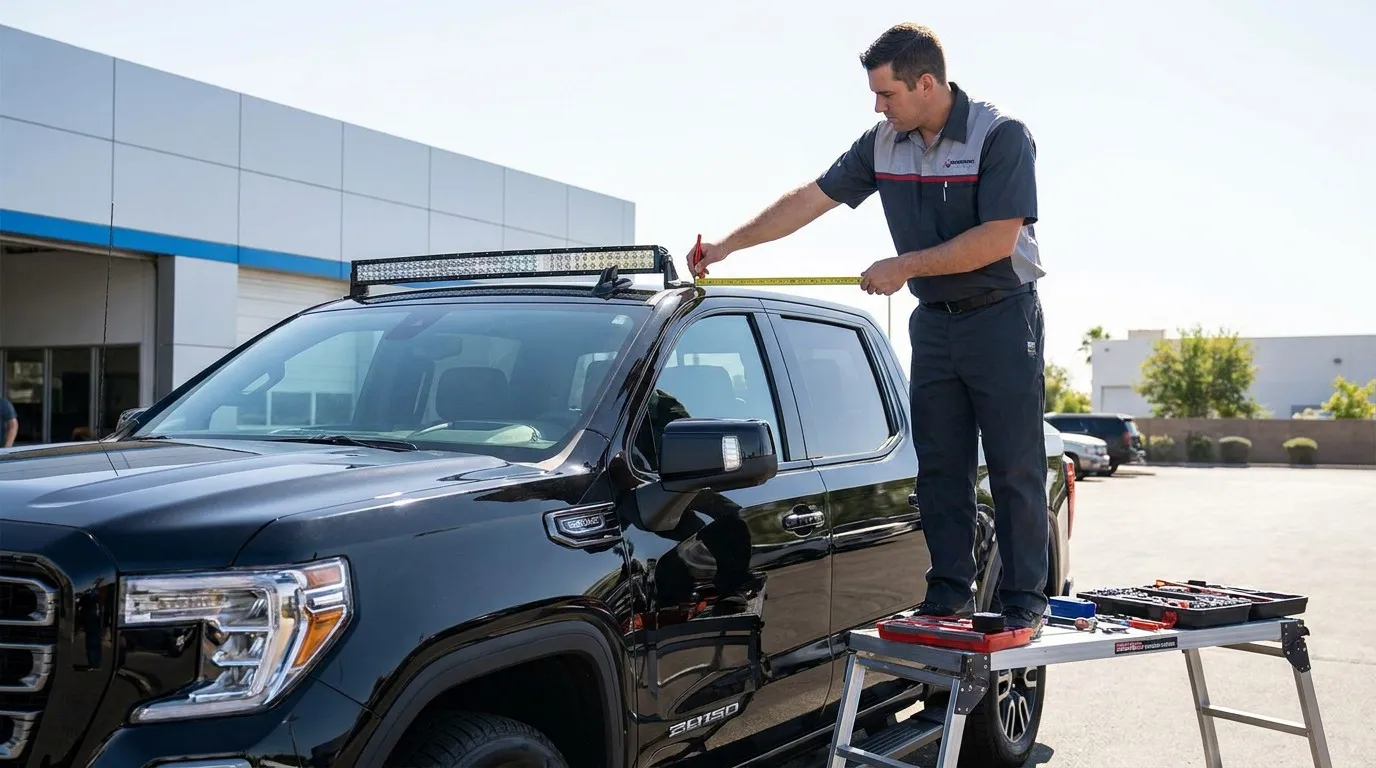
Installing an LED light bar on your vehicle can dramatically improve nighttime visibility for off-road driving. Here is a comprehensive step-by-step installation guide from Aurora Technology, your professional LED lighting manufacturer.
Step 1 — Choose Your Mounting Location: The most common positions are roof (via roof rack or windshield frame brackets), grille/bumper, and A-pillar. Roof mounting provides the highest beam throw and best visibility, while bumper mounting keeps the light bar protected and street-legal when covered.
Step 2 — Mount the Light Bar: Use rust-resistant stainless steel hardware. Aurora's mounting brackets are designed for universal fitment across most truck and SUV models including Ford F-150, Jeep Wrangler, Toyota Tacoma, and Chevy Silverado. Ensure brackets are tightened to manufacturer specifications.
Step 3 — Route the Wiring Harness: Run the wiring through the firewall grommet to the battery. Use a relay harness with a 30A fuse for most light bars. Aurora provides complete wiring kits with pre-configured relays, fuses, and switches.
Step 4 — Connect and Test: Connect the positive wire to the battery via the relay, ground to chassis, and install the switch in the cabin. Test all connections before final tightening. Professional installation is recommended for vehicles without pre-existing mounting points.
For detailed model-specific guides, visit our website or contact our technical support team. All Aurora products come with comprehensive installation manuals.